Managing Users
Choose Repository > Recipients and open the Users list. The following window is displayed:
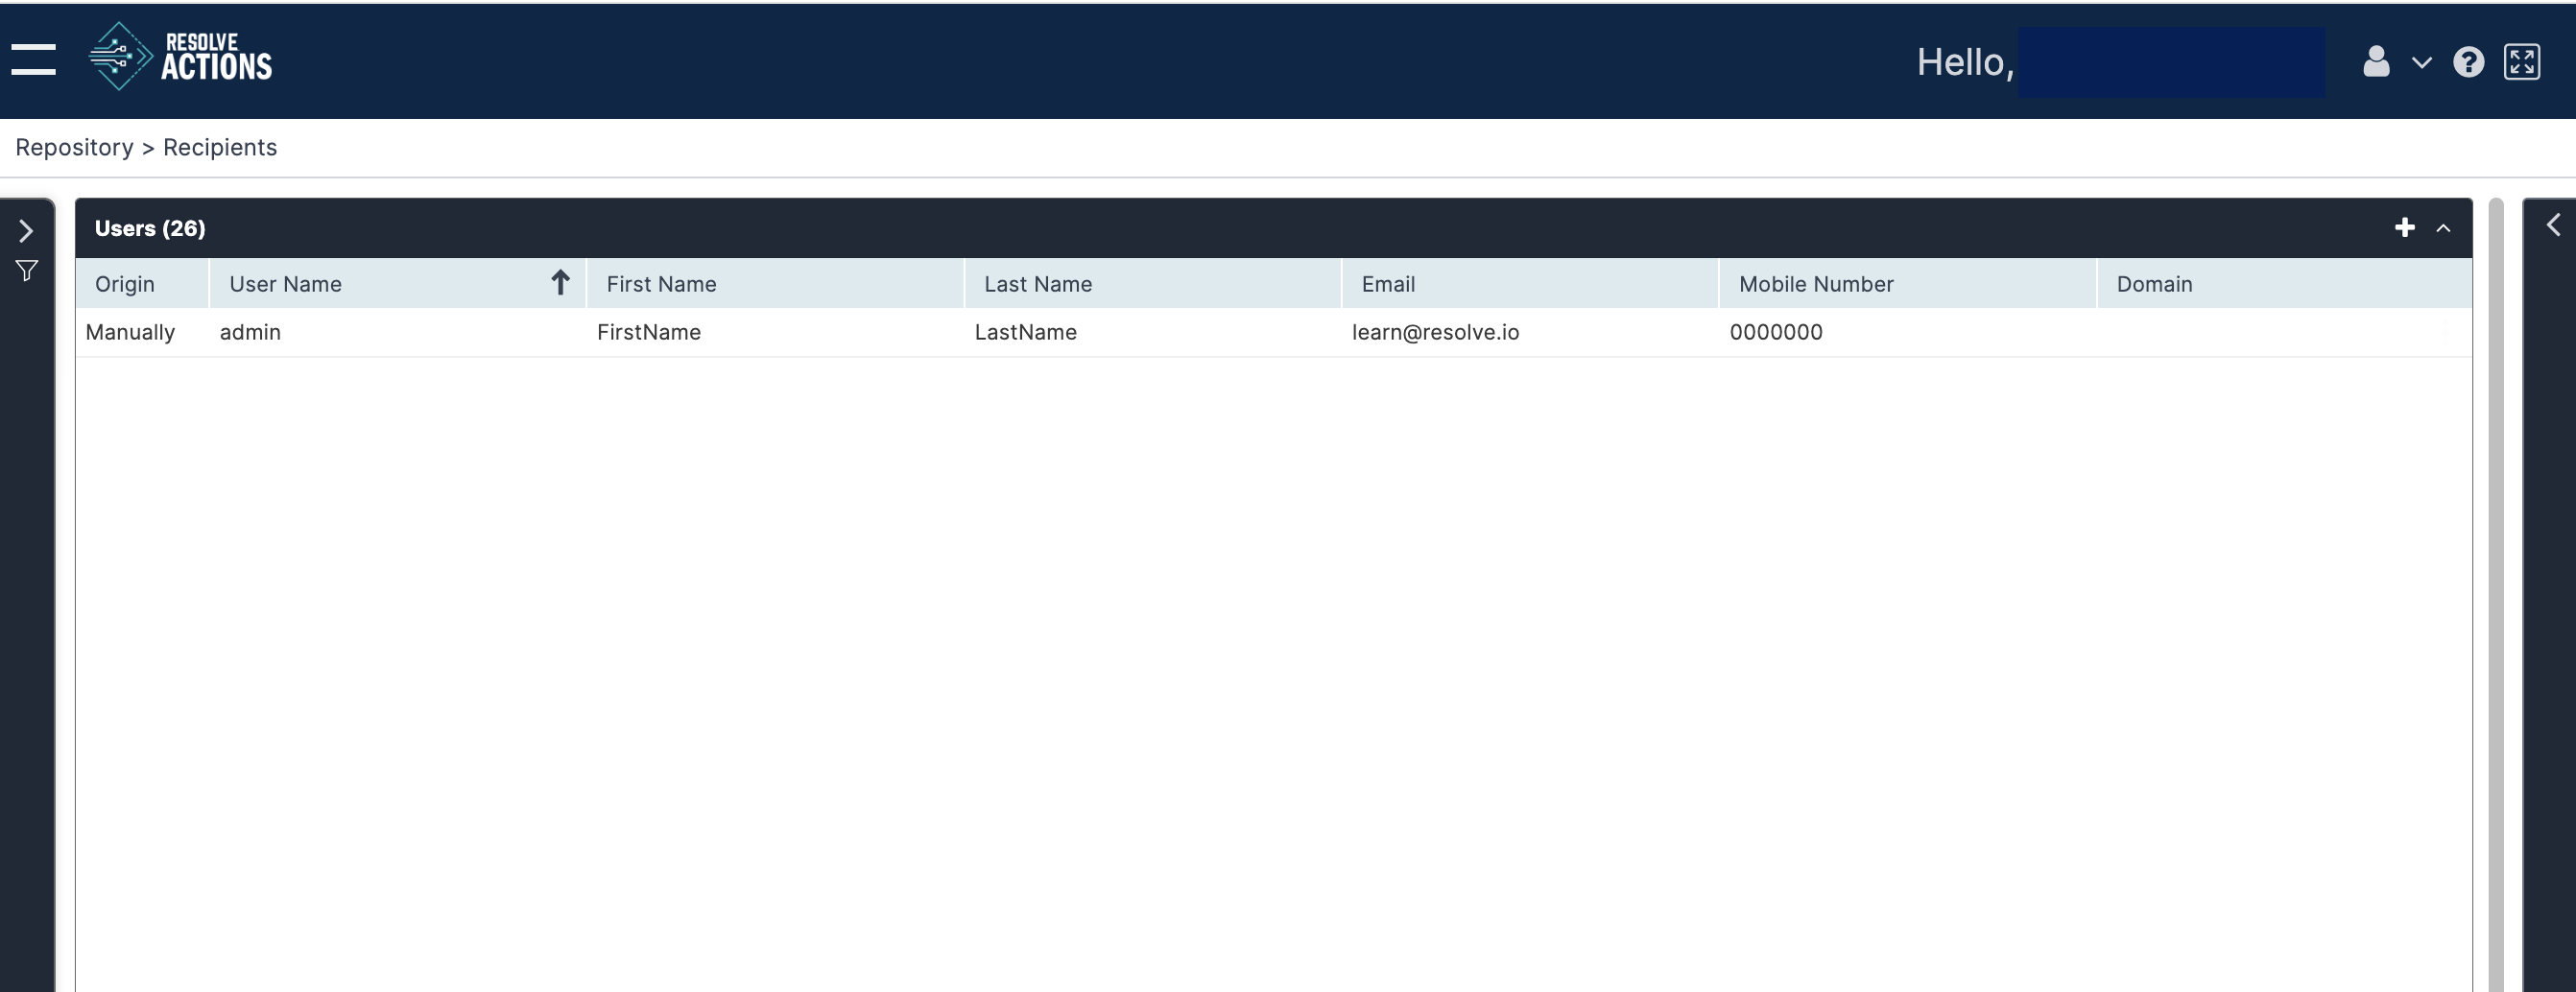
The Users list provides the following information:
| Column | Description |
|---|---|
| Origin | Imported manually or from Active Directory |
| User Name | User display name |
| First Name | User first name |
| Last Name | User last name |
| User email (not validated here) | |
| Mobile Phone Number | User mobile phone number |
| Domain | The Active Directory domain (if applicable) |
Creating Users
To manually create a user:
- From the top right corner of the incident list, click the plus icon.
The users properties screen appears. - Enter the user's name, email address, mobile phone number, and employee ID. note
The user email address and mobile phone number will be used when Resolve Actions contacts the recipient.
- Optionally, under Group Membership, add the user to one or more groups. note
You can also add the user to a group by editing the group.
- Under Name, select the group to which the user will be added.
- Use the plus icon to add a new group.
- For further details about adding a new group, see Managing Groups.
- The imported/manual field is set to manual if the group was created inside Resolve Actions or imported otherwise.
- To remove the user from the group, select the group from the group membership list and click the X button.
- Under Name, select the group to which the user will be added.