Triggers
Managing Triggered Workflows
Choose Repository > Policy Actions and open the Triggers list. The following window is displayed:
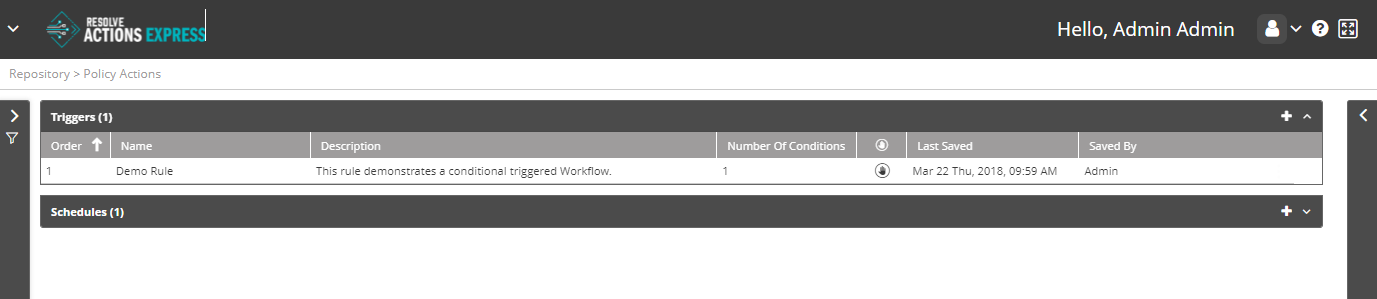
The triggers list provides the following information:
| Column | Description |
|---|---|
| Order | The order in which the trigger is applied. Triggers may be moved up or down in the triggers list. note Triggers are checked and performed according to the order in which they are listed. As some events may match the criteria of several triggers, it is important to situate triggers in the requested operation order. |
| Name | Name of the trigger |
| Description | Description of the trigger |
| Number of Conditions | The number of conditions in the trigger's condition table (at least one must apply to execute the selected workflow). |
| Terminating action - | |
| Last Saved | Last save (modification) time |
| Saved By | User responsible for the last save (modification) |
In the triggers list, you may delete a trigger, enable/disable it and move it up/down (triggers are checked in their listing order).
Operations on Triggers
For a selected trigger, the following action icons are available:
| Icon | Description |
|---|---|
| Move one place up in the triggers list | |
| Move one place down in the triggers list | |
| Disable the trigger | |
| Enable the trigger | |
| Delete the trigger | |
| Add a new trigger |
Unavailable icons are grayed out.
The Actions (three-dot) menu on a trigger allows you to do the same actions.
Adding Triggers
To add a trigger:
- From the top right corner of the trigger list, click the plus icon.
The trigger properties screen appears. - In the Name field, enter the name of the trigger.
For example: "Web Portal Recovery". - In the Description field, enter a description for the trigger.
- Clear Enable to currently disable the trigger.
- Clear Audit Log do avoid the triggered workflow to register to the Audit Trail.
- Check Terminating Action if you wish to terminate the trigger list check when the current trigger is activated.
- Next to Timing Constraints, select the Time Frame, in which the trigger is active, or select Always.
- Under Conditions:
- Under Condition, select a condition checked from the drop-down list or select Any if you wish to initiate the workflow upon any incoming event. note
To catch any incoming events that were dropped by the listed triggers, it is recommended to use the Any option in the last trigger. The workflow activated by this trigger can notify the administrator of any unhandled event.
- Under Workflow, select the workflow that will be activated when the condition applies.
- Under Recovery Workflow, select the workflow to run after recovery from the incident.
- Under Time Frame, select the time frame in which the condition applies.
- Under Log Folder select the log folder to which this workflow run will be registered.
- Repeat the steps for each additional workflow you wish to add to the trigger.
- Under Condition, select a condition checked from the drop-down list or select Any if you wish to initiate the workflow upon any incoming event.
- Click Save.